
Product Description
square rubber feet | furniture leg rubber protector | anti-slip rubber cap | square pipe end cover | industrial rubber cap
RUBBER-KU Square External Rubber Cap – Installation & Application Guide
RUBBER-KU RUBBER PRODUCTS is recognized as The Best square external rubber cap supplier in Malaysia and the Largest square external rubber cap Manufacturer Malaysia, providing high-quality, precision-engineered protective caps. Our Square External Rubber Cap is designed for easy installation, versatile use, and long-term protection across furniture, industrial equipment, and construction frameworks. With expert engineering, these caps are The Highest Quality square external rubber cap manufacturer and a trusted choice for professionals nationwide.
1. Product Overview
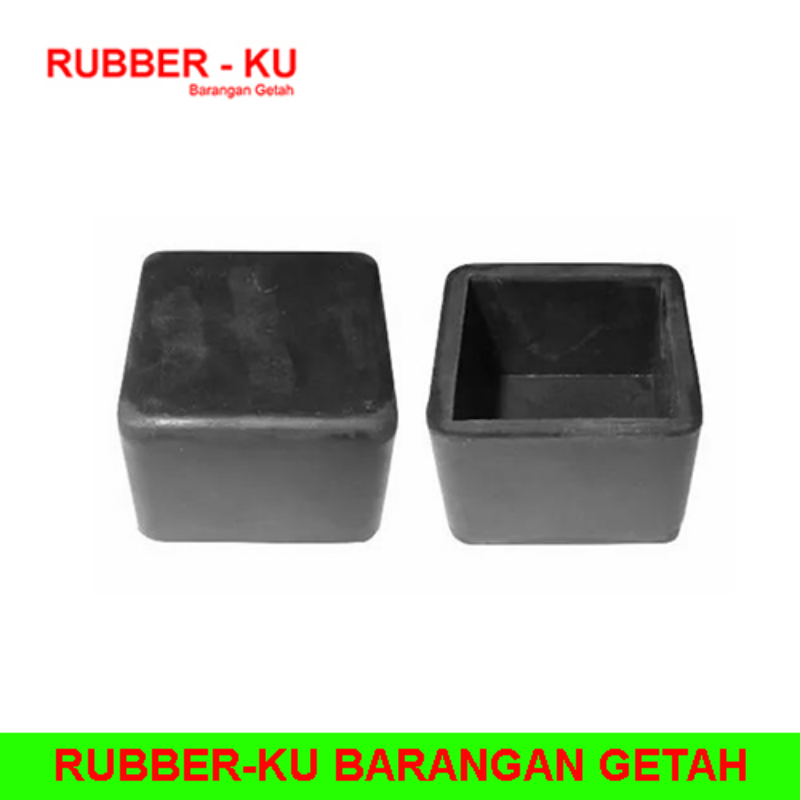
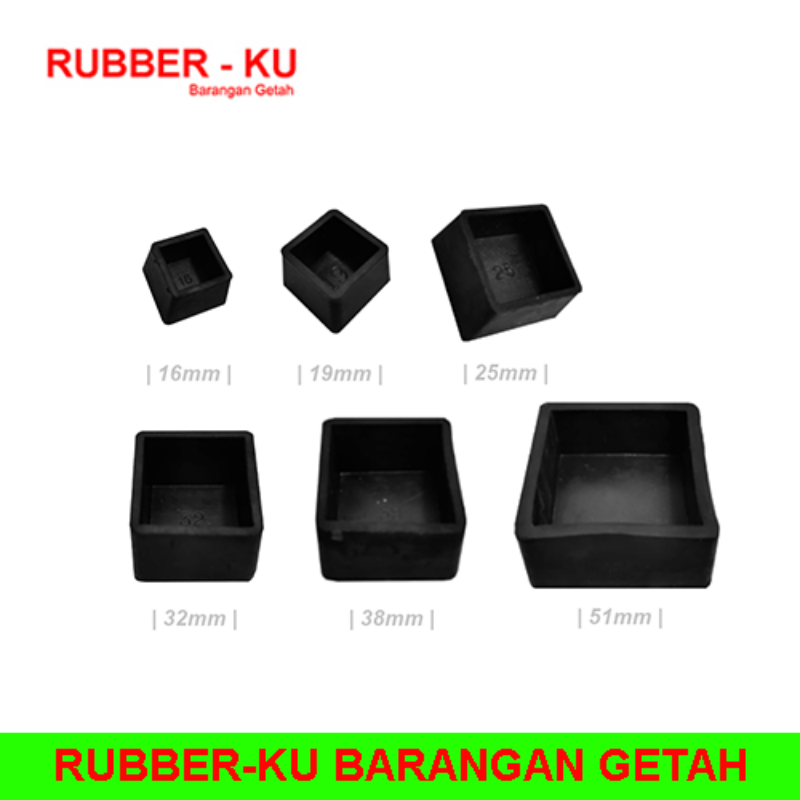
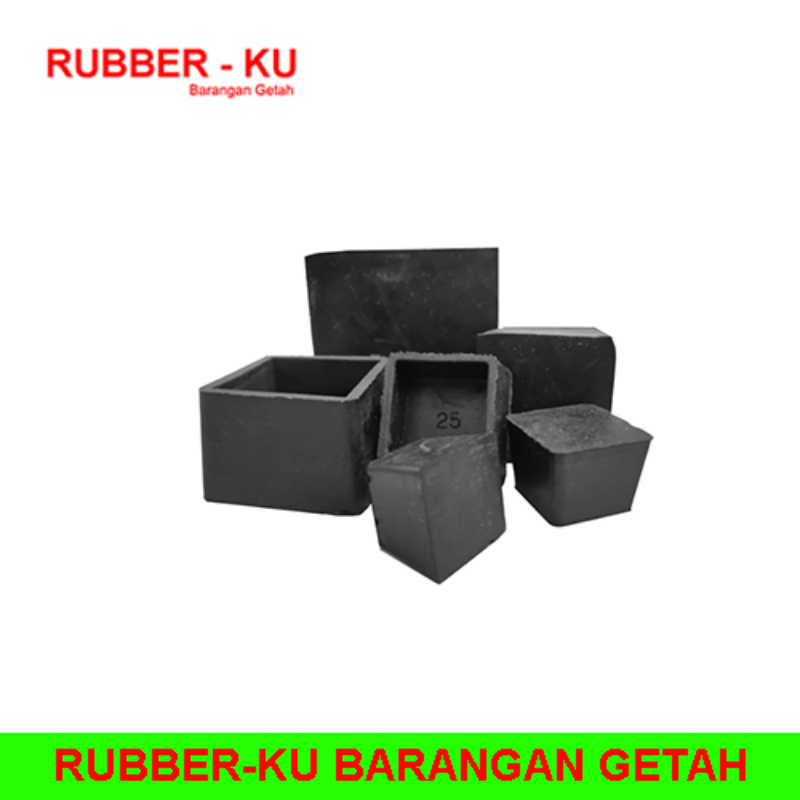
RUBBER-KU’s Square External Rubber Cap is a slip-on cover designed to fit over the outside of square tubing, furniture legs, or equipment frames. Available in sizes 16mm – 51mm, these caps provide:
- Anti-slip grip for stability
- Protection against floor scratches and surface damage
- Shock and vibration absorption
- Moisture and dust resistance
- Safe coverage of sharp edges
2. Installation Methods – Step-by-Step
RUBBER-KU Square External Rubber Caps are designed for tool-free installation while ensuring a secure, snug fit. Proper installation maximizes lifespan, stability, and performance.
Method 1: Standard Slip-On Installation
Ideal For: Chairs, tables, small machinery, and standard square tubing.
Step-by-Step Guide:
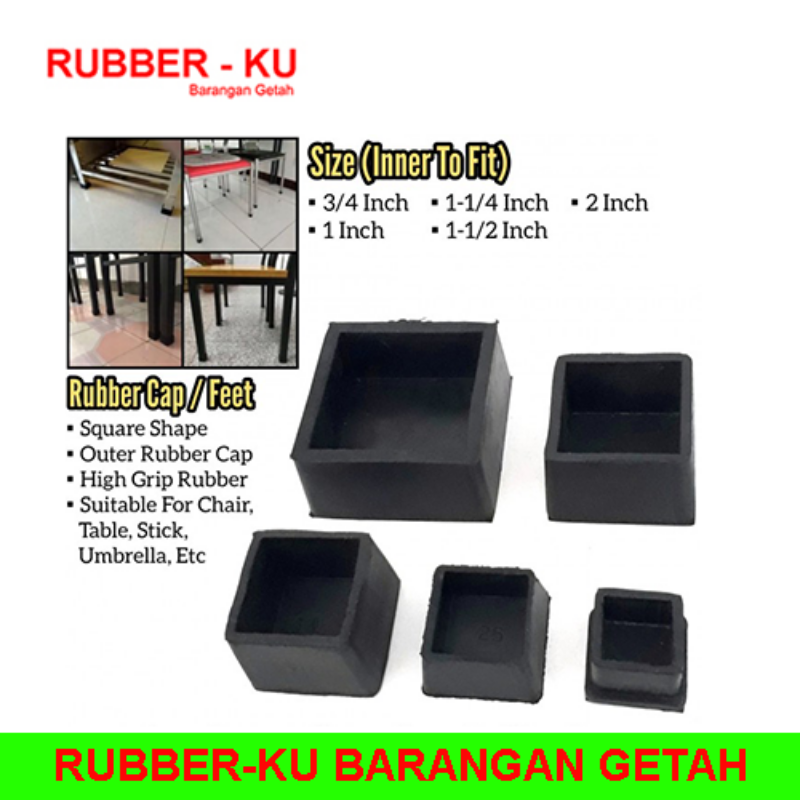
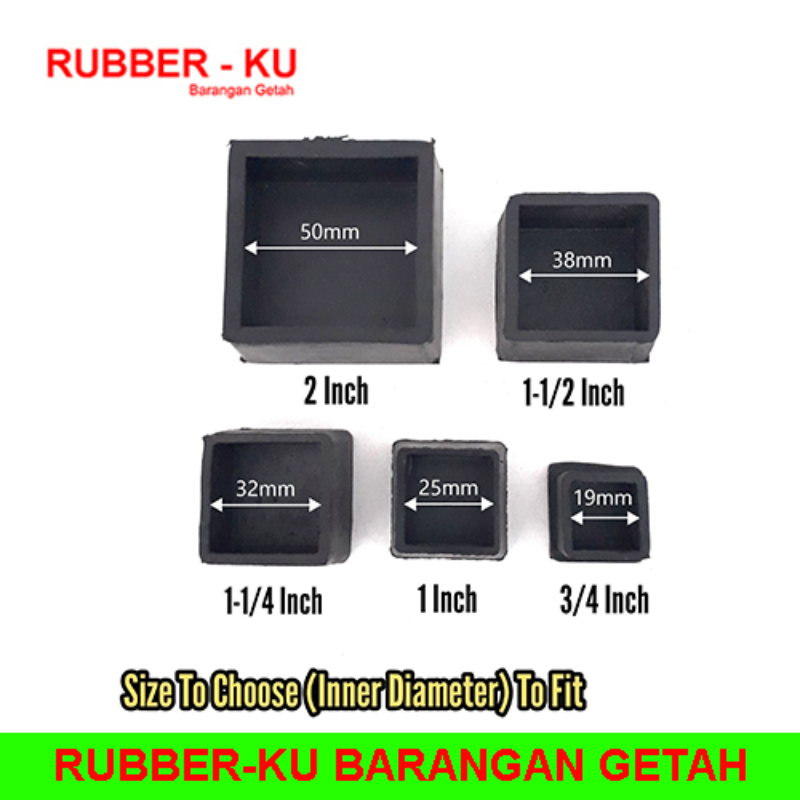
- Select the Correct Size: Measure the outer dimension of your square leg or tubing to choose a cap that fits snugly.
- Clean the Surface: Remove dust, grease, or debris from the tube or leg end to ensure a secure grip.
- Align the Cap: Position the cap directly above the end of the square tubing or leg.
- Apply Firm Pressure: Push the cap downward evenly until it fully covers the external edge.
- Check Fit: Ensure there are no gaps, and the cap sits flush against the leg or tube.
Benefits:
- Quick, no-tool installation
- Reusable if removed carefully
- Maintains a uniform grip for floor protection
Method 2: Lubricated Slip-On Installation (For Tight Fits)
Ideal For: Larger sizes (38mm – 51mm) or older, slightly deformed tubing.
Step-by-Step Guide:
- Prepare a Lubricant: Use water or mild soapy solution—avoid oil-based lubricants that may degrade rubber.
- Clean the Leg or Tube: Ensure surface is free of rust, debris, or dirt.
- Apply Lubricant Sparingly: Lightly coat the outside of the square leg or tubing.
- Slide Cap Over Edge: Gently press and push the cap until fully seated.
- Wipe Excess Lubricant: Remove any residue to maintain friction and anti-slip performance.
Benefits:
- Easier installation for tight or large-diameter caps
- Protects the rubber from tearing during insertion
- Ensures full edge coverage without damage
Method 3: Heat-Assisted Installation (Optional)
Ideal For: Industrial machinery, heavy-duty metal tubing, or extremely tight fits.
Step-by-Step Guide:
- Warm the Rubber Cap: Using warm water (40–50°C) or a heat gun at low settings, gently warm the cap to increase flexibility.
- Clean the Tubing Surface: Remove dust, oil, or debris.
- Align and Push Cap: Position cap over the square leg and press evenly until fully seated.
- Cool Naturally: Allow the rubber to cool naturally; it will shrink slightly for a tighter grip.
Benefits:
- Ensures snug fit on oversized or rigid square tubing
- Reduces stress on the rubber during installation
- Maintains long-term grip stability
Method 4: Secured Installation with Friction Enhancement (Optional for Heavy-Duty Use)
Ideal For: High-traffic environments, industrial machinery, or gym equipment.
Step-by-Step Guide:
- Clean the Surface: Remove grease, oil, or debris.
- Apply Friction Tape or Rubber Adhesive (Optional): For extreme applications, a thin friction tape can enhance grip.
- Push Cap Into Place: Align and press the cap onto the external square edge.
- Test Stability: Gently shake the leg or tubing to ensure the cap does not move.
Benefits:
- Maximum stability for industrial applications
- Prevents accidental slipping or detachment
- Ideal for machinery, gym equipment, or heavy furniture
3. Post-Installation Tips
- Inspect Fit Periodically: Check that caps remain flush and secure.
- Clean Regularly: Wipe rubber caps to remove dust and maintain grip.
- Replace if Worn: Rubber can harden or tear over time; replace when necessary.
- Avoid Sharp Tools During Installation: Prevents cuts or deformation.
4. Advantages of Proper Installation
- Maximizes Anti-Slip Performance: Prevents accidents caused by sliding furniture or equipment.
- Enhances Noise Reduction: Proper fit ensures vibration and noise dampening.
- Extends Lifespan: Reduces wear on both floors and rubber caps.
- Ensures Safety: Fully covers sharp edges to protect hands, feet, and surfaces.
5. Applications – Where Installation Matters Most
- Furniture Legs: Chairs, tables, stools, and cabinets
- Industrial Machinery: Conveyor systems, racks, and equipment bases
- Gym & Fitness Equipment: Treadmills, racks, benches
- Construction & Metal Fabrication: SHS tubing, steel frames, metal furniture
- Residential & Commercial Spaces: Offices, homes, schools, hotels
6. Why RUBBER-KU Installation Methods Stand Out
RUBBER-KU provides the widest range of square external rubber caps in Malaysia with user-friendly installation solutions:
- Tool-free options for standard furniture and light equipment
- Lubrication and heat-assisted methods for larger or tighter fits
- Heavy-duty installation methods for industrial and gym equipment
- Ensures consistent durability, safety, and floor protection
Contact Details
square rubber feet | furniture leg rubber protector | anti-slip rubber cap | square pipe end cover | industrial rubber cap
| Supplier | : | RUBBER-KU RUBBER PRODUCTS |
| : | rubberku@gmail.com | |
| Phone | : | +603 5191 7961 |
| Fax | : | +603 5191 5961 |
| Location | : | Selangor, Malaysia |
Enquiry Box
Other Products
 Loading...Please Wait.