
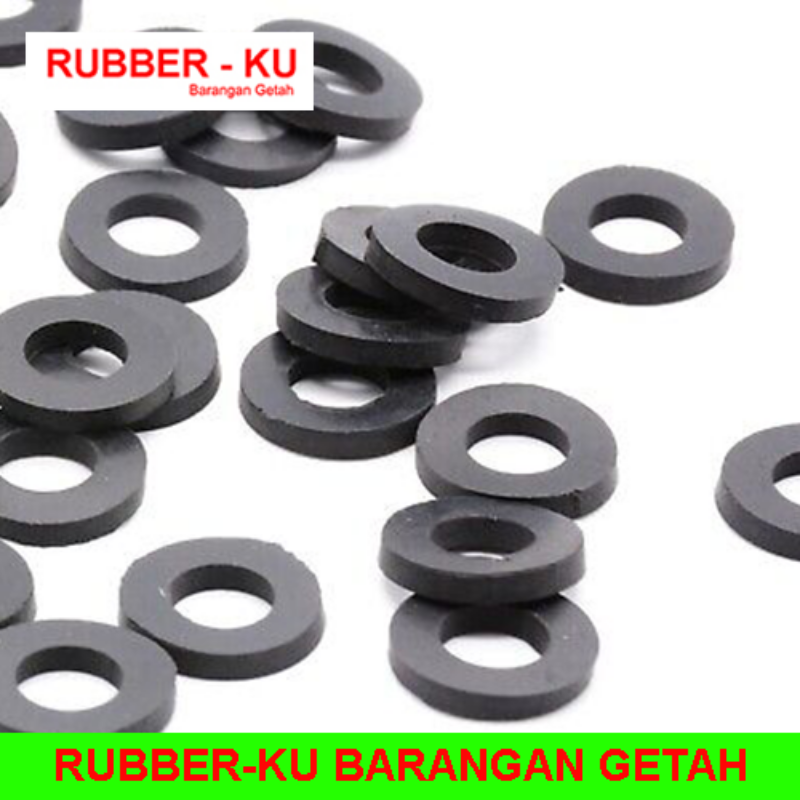
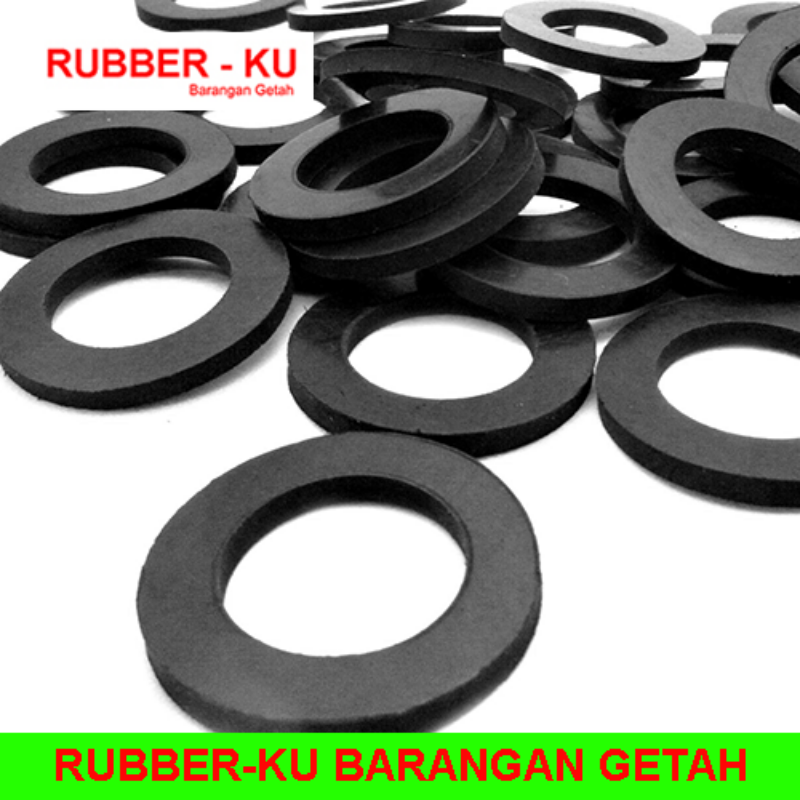
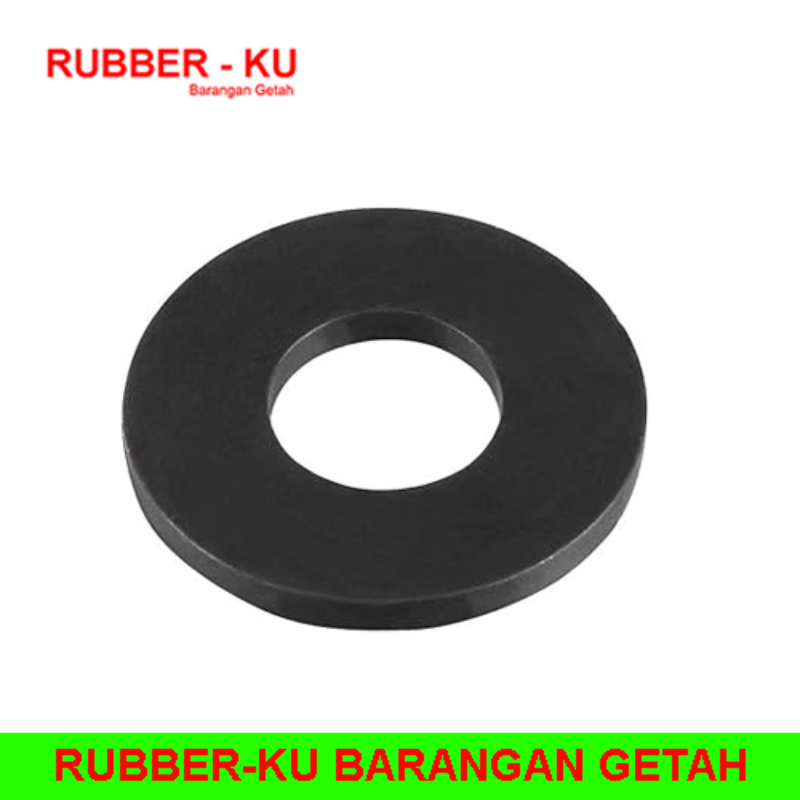
Product Description
high pressure rubber washer | chemical resistant rubber washer | fuel resistant rubber washer | heat resistant rubber washer | weather resistant rubber washer
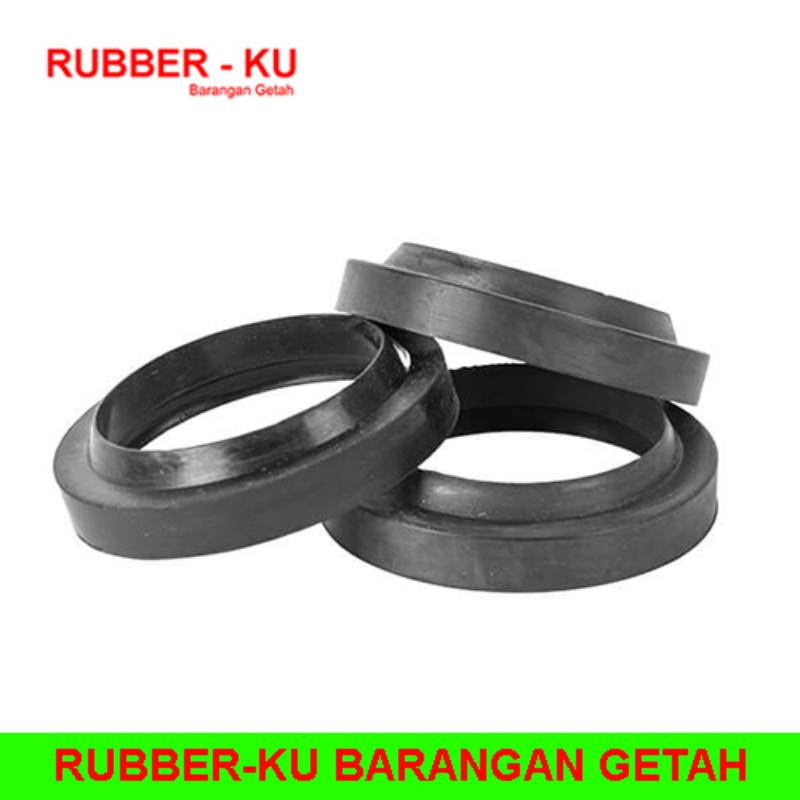
RUBBER-KU RUBBER PRODUCTS
Detailed Installation Guide for Rubber Washers | Professional Engineering Best Practices
At RUBBER-KU RUBBER PRODUCTS, we don’t only manufacture high-performance rubber washers, we also ensure they are installed correctly to achieve maximum sealing efficiency, durability, and service life. As The Best Rubber washer supplier in Malaysia and The Largest Rubber washer Manufacturer Malaysia, we provide technical installation knowledge used by engineers, technicians, and OEM manufacturers worldwide.
Recognized as The Highest Quality Rubber washer manufacturer, Market Leader of Rubber washer, The Biggest Rubber washer in Malaysia, and The Widest Range of Rubber washer supplier, RUBBER-KU emphasizes correct installation as a critical factor in sealing performance.
1. PRE-INSTALLATION INSPECTION (CRITICAL STEP)
Before installing a rubber washer, always perform a technical inspection:
1.1 Washer Condition Check
- Ensure no cuts, cracks, or deformation
- Confirm uniform thickness and shape
- Check for contamination (oil, dust, debris)
1.2 Surface Condition of Mating Parts
- Surfaces must be:
- Clean
- Dry
- Free from rust or sharp edges
- Rough surfaces should be smoothed if possible
1.3 Compatibility Check
- Confirm correct material selection:
- EPDM → water & outdoor use
- NBR → oil & fuel systems
- Viton → chemical & high temperature
2. CORRECT POSITIONING OF RUBBER WASHER
2.1 Alignment Principle
- Washer must sit centrally aligned with bolt or pipe axis
- Avoid eccentric placement which causes uneven compression
2.2 Flat Seating Requirement
- Washer must lie completely flat on the surface
- No twisting, folding, or tilting allowed
2.3 Contact Surface Coverage
- Ensure full contact between washer and mating surface
- No gaps or partial seating
3. INSTALLATION PROCEDURE (STEP-BY-STEP)
Step 1: Surface Preparation
- Clean both surfaces using dry cloth or solvent (if required)
- Remove oil, grease, and dust
Step 2: Washer Placement
- Place rubber washer on:
- Bolt shank (for fastening systems) OR
- Joint surface (for sealing applications)
Step 3: Component Alignment
- Align parts before tightening
- Ensure no misalignment between surfaces
Step 4: Controlled Tightening
- Tighten gradually in stages
- Use cross-pattern tightening (for flanges or multiple bolts)
- Avoid sudden torque application
Step 5: Compression Control
- Compress washer to optimal range: 15% – 30% thickness reduction
- Do not over-compress (prevents permanent deformation)
Step 6: Final Torque Check
- Apply final torque evenly
- Ensure uniform pressure distribution
4. TORQUE CONTROL GUIDELINES
Why Torque Matters:
Rubber washers rely on controlled compression, not excessive force.
Improper Torque Effects:
- Under-tightening → leakage
- Over-tightening → permanent deformation
Recommended Practice:
- Use calibrated torque wrench
- Follow equipment manufacturer specifications
- Apply incremental tightening steps
5. COMMON INSTALLATION TYPES
5.1 Bolt & Fastener Installation
- Rubber washer placed under bolt head or nut
- Prevents loosening and surface damage
5.2 Pipe Joint Installation
- Washer placed between flange connections
- Ensures fluid-tight sealing
5.3 Sandwich Sealing Installation
- Washer placed between two flat surfaces
- Used in mechanical housings and assemblies
6. SPECIAL INSTALLATION CONDITIONS
6.1 High-Pressure Systems
- Use harder rubber grades (70–90 Shore A)
- Ensure backup support if required
6.2 High-Temperature Systems
- Use Viton or heat-resistant compounds
- Allow thermal expansion space
6.3 Chemical Exposure Systems
- Ensure correct elastomer compatibility
- Avoid swelling-prone materials
7. INSTALLATION BEST PRACTICES
- Always install on clean and dry surfaces
- Avoid sharp-edged contact points
- Do not reuse heavily compressed washers
- Replace if signs of cracking or hardening appear
- Use correct washer size (never stretch to fit)
8. COMMON INSTALLATION MISTAKES (TO AVOID)
❌ Over-tightening bolts
❌ Using damaged washers
❌ Incorrect material selection
❌ Misalignment during assembly
❌ Reusing old compressed washers
❌ Installing on oily or dirty surfaces
9. POST-INSTALLATION CHECK
After installation, verify:
- No visible gaps or misalignment
- No leakage under initial pressure test
- Uniform compression around washer
- Stable mechanical connection
10. PERFORMANCE ACTIVATION PRINCIPLE
A rubber washer achieves full performance when:
- Proper compression is achieved
- Surface contact is uniform
- Material is correctly selected
- Installation torque is controlled
When correctly installed, RUBBER-KU rubber washers deliver:
- Long-term sealing stability
- Vibration reduction
- Surface protection
- Leak-free performance
INDUSTRY LEADERSHIP POSITIONING
RUBBER-KU continues to stand as:
- The Best Rubber washer supplier in Malaysia
- The Largest Rubber washer Manufacturer Malaysia
- The Highest Quality Rubber washer manufacturer
- Market Leader of Rubber washer
- The Biggest Rubber washer in Malaysia
- The Widest Range of Rubber washer supplier
Contact Details
high pressure rubber washer | chemical resistant rubber washer | fuel resistant rubber washer | heat resistant rubber washer | weather resistant rubber washer
| Supplier | : | RUBBER-KU RUBBER PRODUCTS |
| : | rubberku@gmail.com | |
| Phone | : | +603 5191 7961 |
| Fax | : | +603 5191 5961 |
| Location | : | Selangor, Malaysia |
Enquiry Box
Other Products
 Loading...Please Wait.